Showing posts with label Daring Bakers Challenge. Show all posts

Friday, May 2, 2014

Italian Easter Bread - Daring Bakers April 2014 Challenge

Italian Easter Bread
The April Daring Baker’s Challenge was hosted by Wolf of Wolf’s Den . She challenged us to Spring into our kitchens and make Easter breads reflecting cultures around the world.

Making bread is my "thing." I have loved to bake bread since I was young. So this month's challenge (ok, technically last month's!) was right up my alley. I had never made Easter bread before and was pleased to find out it was easy to do and tasted delicious!! Mt braids ended up HUGE, and they wer a little underbaked.... same for the eggs. BTW I dyed them using Kool Aid, since they were touching something edible.

Italian Easter Bread
recipe from The Italian Dish
makes 6 individual loaves

Ingredients:
  • 1 package Rapid Rise yeast
  • 1.25 cups scalded milk, cooled to room temperature
  • pinch of salt
  • 1/3 cup butter, softened
  • 2 eggs, beaten
  • 1/2 cup sugar
  • 3.5 cups flour (approximate)
  • 1 egg, beaten with 1 teaspoon of water
  • 6 dyed Easter eggs (raw - do NOT hard boil them first!)
  • sprinkles
Instructions:
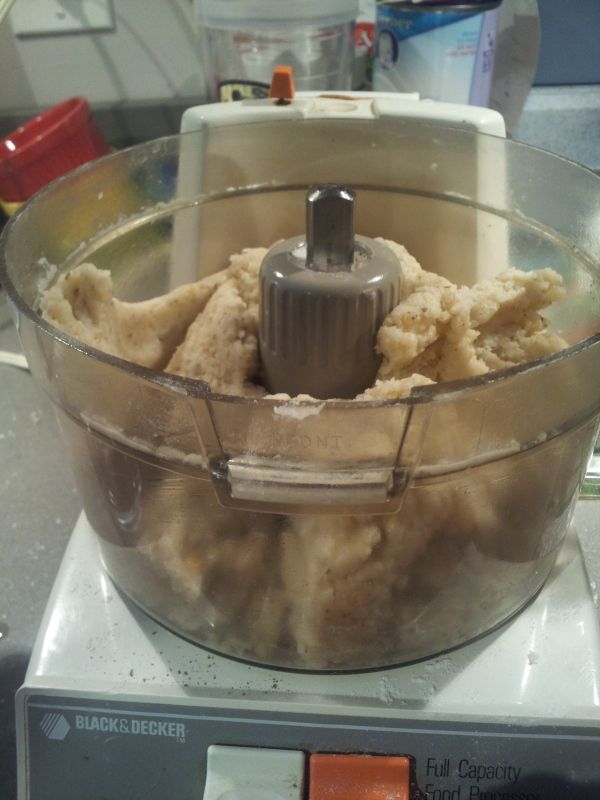
 1. In a large mixer bowl, combine yeast, warm (not hot) milk, salt, butter, eggs and sugar. Add about half the flour and beat until smooth with dough hook.   Slowly add the remaining flour to form a stiff dough. Add flour until the dough is not sticky anymore.  Knead until smooth with either dough hook attachment or turn out on floured board and knead.

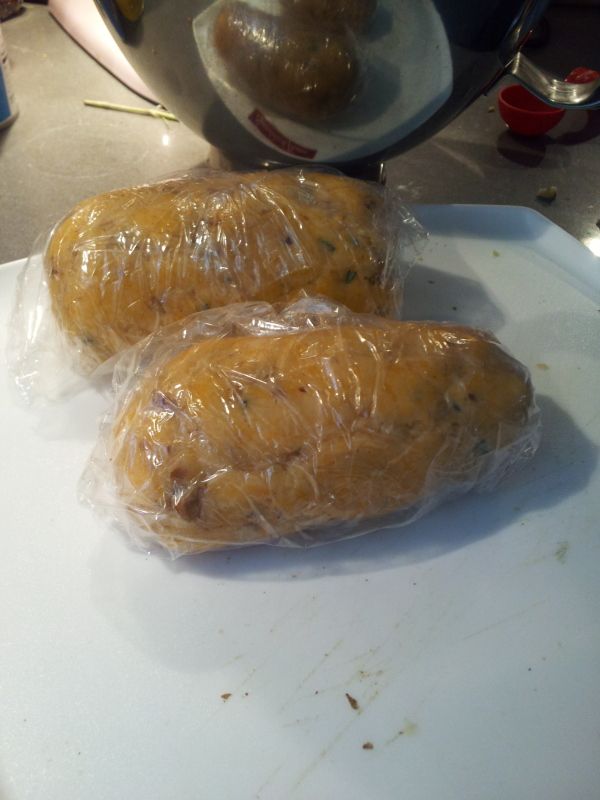
2. Place in a greased bowl, cover and let rise in a warm place until doubled, about an hour.

fat little braided dough circles
3. Punch dough down, divide into 12 pieces. Roll each piece to form a 1 inch thick rope about 14 inches long and, taking two pieces, twist to form a "braid", pinching the ends. Loop into a circle.

4. Place on a greased baking sheet or line your baking sheet with parchment paper or a Silpat. Cover and let rise until double, about an hour again.


and the eggs were nestled all snug in their braids

5. Brush each bread with beaten egg wash. Put on the sprinkles. In the middle of each bread ring, gently place an Easter egg, making an indentation with the egg.

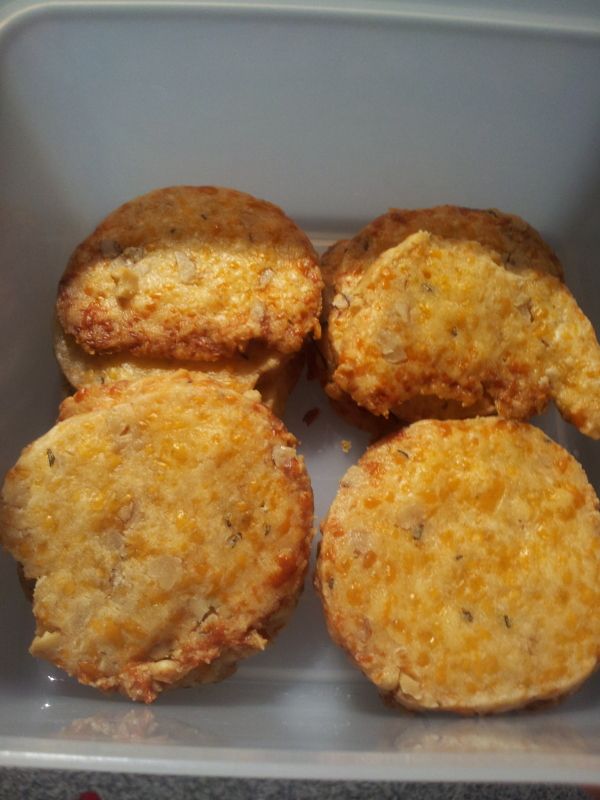
6. Bake at 350 degrees until golden - about 20 - 25 minutes. Cool on rack.

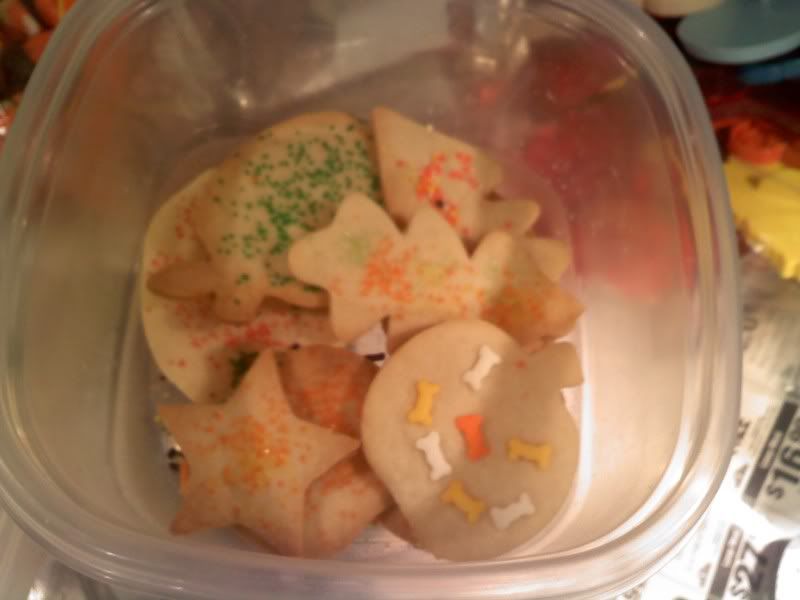
Italian Easter Bread - Halloween style!!


Monday, January 27, 2014

Tree Cake - Baumkuchen (January Daring Bakers Challenge)

The January 2014 Daring Bakers' challenge was hosted by Francijn of "Koken in de Brouwerij". She challenged us all to bake layered cakes in the tradition of Baumkuchen (tree cake) and Schichttorte (layered cake).


Tree Cake - Baumkuchen


Well this challenge did not work too well for me! For some reason my batter was really thick, and in using a 10 inch springform, the pan was just too big.  So my layers were too thin, and the sides almost burned and the bottom was pretty hard yet the inside wasn't fully done.

Tree Cake - Baumkuchen
You can't really see the layers - but I did get in 9 of the 10! Then the chocolate glaze was wayyyyy to thick. I tried to thin it out, but it was still incredibly thick. You can see how thick it is in the above pic.

Tree Cake - Baumkuchen
See how dark the edges are? Oh well. It still tasted REALLY good - moist with a slight almond flavor. And as a bonus - I made my own marzipan! Maybe that had something to do with the thickness of the batter, not sure, but I was still pretty proud of myself!

homemade marzipan! Woo!
I won't include my recipe here, but if you want it, lmk, and I will post it!


Sunday, January 27, 2013

January Daring Bakers' Challenge: Gevulde Speculaas


Guevlde Speculaas almond paste between spiced dough

Francijn of Koken in de Brouwerij was our January 2013 Daring Bakers’ Hostess and she challenged us to make the traditional Dutch pastry, Gevulde Speculaas from scratch! That includes making our own spice mix, almond paste and dough! Delicious!

This was a fun and easy challenge. I had never made almond paste from scratch, but I would again. Mine did not taste too almond-y, but it was probably the quality of my almonds.

nekkid almonds and their skins

The paste was jut almonds, sugar, an egg and lemon zest in the food processor. Really simple, and it did not take too long to make.

homemade almond paste
The dough was also easy to make. The first step was to mix the speculaas spices. According to Francijn, "Speculaaskruiden contain at least cinnamon, cloves, mace and ginger, and these spices to taste: pepper, cardamom, coriander, anise seeds and nutmeg." Unfortunately, I did not have mace. The mix of spices I used is in the picture below.

speculaas spices
The dough consists of flour, baking powder, sugar, salt, spices and butter that you mix together by hand in a bowl, then roll in a ball. The dough and almond paste should be refrigerated from a few hours or a few days. I left mine in the fridge for a day to help the flavors meld.

The dough then gets divided in half and  rolled out. I had some issues with that and ended up just pressing the dough into the bottom of my pan, then pressing in the almond paste and then the rest of the dough - it totally crumbled. The top is supposed to be smooth but oh well! you also brush on egg in between each layer and on the top.

Crumbly speculaas
Add some almonds on top, bake and EAT!!! The speculaas was crumbly and light. Jeff said the psice tasted like gingerbread, but to me it was cinnamon with a hint of other spices. so good. It was the best on the day one, but today is day 3, and the spices have really come together. It is much more flavorful today.

Gevulde speculaas before and after

This was a great challenge! Thanks Francijn!


Friday, July 27, 2012

Daring Bakers' July 2012 Challenge: Crackers

Our July 2012 Daring Bakers’ Host was Dana McFarland and she challenged us to make homemade crackers! Dana showed us some techniques for making crackers and encouraged to use our creativity to make each cracker our own by using ingredients we love.

I really enjoyed making crackers!  They were SO easy to make! They are time consuming to bake but worth it!

For these crackers, I would make more of the topping. It was SO GOOD, sweet more than spicy, but I used it all sparingly and still ran out.

Monterrey Jack and Oregano Crackers 

(Roll with pasta rollers or by hand):

Servings: Approximately 80 crackers

Ingredients

1⅔ cups (400 ml) (235 gm) (8¼ oz) all-purpose (plain) flour
2¼ cups (540 ml) (225 gm/8 oz) grated Monterrey Jack cheese, firmly packed
2 teaspoons (10 ml) (1 gm) dried oregano
½ teaspoon (2½ ml) (3 gm) salt
½ teaspoon (2½ ml) (½ gm) black pepper
½ cup (120 ml) (4 fl oz) vegetable oil
½ cup (120 ml) (4 fl oz) water

Spice topping

¼ teaspoon (1¼ ml) (1/8 gm) cayenne (or chili powder)
1 teaspoon (5 ml) (3 gm) kosher salt
1 teaspoon (5 ml) (5 gm) sugar

Directions:

1. Combine the spice topping and set aside.
2. Grate the cheese and put in the bowl of a food processor with flour, oregano, salt and pepper and pulse to combine. This can also be done by hand.

3. Add the oil and pulse until the consistency of wet sand is reached.
4. Add enough water for the dough to come together.

dough has come together
5. Form the dough into two disks, wrap with cling film and refrigerate for several hours or overnight.
6. Heat the oven to moderate 325°F/160°C/gas mark 3.
7. Working with a quarter of the dough at a time, either use a rolling pin or roll out in your pasta rollers to 1/8 of an inch (3 mm) thick. If you use pasta rollers, ensure the dough is well floured so as not to stick.
8. Cut the strips into cracker shapes or cut out using a cookie cutter.
star shapes - what the birthday boy wanted!
9. Transfer to a parchment lined cookie sheet (I used my silpat) and sprinkle with the spice mixture.
10. Bake for 20-25 minutes until medium golden brown.
11. Store in an airtight container and eat within three days.
so good!!

For these crackers: the thinner you cut them, the better. They get crispier. These were really cheesy!

Cheddar, Rosemary and Walnut Icebox Crackers 

(form into a log and slice):

Servings: Approximately 48 crackers

Ingredients

½ cup (120 ml) (1 stick) (115 gm/4 oz) butter, well softened
2¼ cups (540 ml) (225 gm/8 oz) grated aged cheddar cheese (the better the cheese, the better the cracker), firmly packed
1 cup plus 3 tablespoons (285 ml) (190 gm/6oz) all-purpose (plain) flour
1 teaspoon (5 ml) (6 gm) salt
1/2 cup (120 ml) (60 gm/2 oz) finely chopped walnuts
1 tablespoon (15 ml) (1¾ gm) finely chopped rosemary


Directions:

1. Combine butter, rosemary and cheese in a stand mixer and beat well (can also be done by hand)

2. Add the flour, salt and nuts and stir to combine
3. Form the dough into two tight logs and wrap with cling film
logs wrapped and ready to be refrigerated


4. Chill for at least an hour and up to several days. The log can be frozen at this point for several months.
5. Heat the oven to moderate 325°F/160°C/gas mark 3.
6. Slice a log into 5mm (1/5 inch) coins and place on a parchment lined baking sheet
7. Bake about 10 minutes until golden brown
8. Store in an airtight container and eat within three days
9. Try this recipe with different cheeses, nuts (or no nuts), and spices. Get creative!


cheesy crunchy crackers


Monday, February 27, 2012

Daring Bakers' Feb 2012 Challenge: Quick Breads

The Daring Bakers’ February 2012 host was – Lis! Lisa stepped in last minute and challenged us to create a quick bread we could call our own. She supplied us with a base recipe and shared some recipes she loves from various websites and encouraged us to build upon them and create new flavor profiles.

cheesy, oniony, with a little kick


I was really excited about this one because I LOVE to make quick breads. Because they are, well, quick to make lol and also EASY. Plus some, like banana bread, are a good way to get in fruits and other good for you items.

Reading the info about this challenge, I realzied I had never mad a savory quick bread before, and I knew I had to try one! The recipe I used is below, except I forgot to buy asagio cheese, so I just used grated Parmesan. I also just eyeballed the cheese and the onions. I so rarely do that.. it was a bit freeing!! I also used a can of light beer that we already had.

this pic is for Jeff!

Green Onion, Cheddar & Asiago Beer Batter Bread

Makes one 9” x 5” (23 x 13 cm) loaf
Adapted from Recipe Girl’s Cheddar Chive Beer Batter Bread
Ingredients
1 tablespoon (15 ml) oil
1 cup (240 ml) (100 gm/3½ oz) sliced green (spring) onion
3 cups (720 ml) (420 gm/15 oz) all-purpose (plain) flour
3 tablespoons (45 ml) (45 gm/1½ oz) granulated sugar
2 teaspoons (10 ml) (10 gm) baking powder
1 teaspoon (5 ml) (6 gm) salt
1 cup (240 ml) (115 gm/4 oz) grated sharp cheddar cheese
½ cup (120 ml) (2 oz) grated Asiago cheese
One (12 fl oz/355 ml) (about 1½ cups) bottle beer (such as amber ale)
¼ cup (60 ml) (55 gm/2 oz) butter, melted and divided

time to get the mix on!


Directions:
  1. Preheat oven to moderately hot 375°F/190°C/gas mark 5. Spray 9”×5″ (23 x 13 cm) loaf pan with cooking spray.
  2. Heat olive oil in a large nonstick skillet over medium heat. Add green onion and sauté 3-4 minutes or until tender. Cool to room temperature.
  3. Combine flour, sugar, baking powder and salt in a bowl; make a well in the center of the mixture. Add onion, cheeses, and beer. Stir just until moist.
  4. Spoon batter into prepared pan. Drizzle evenly with 2 tablespoons of butter. Bake for 35 minutes; brush with remaining 2 tablespoons butter. Bake an additional 23 minutes or until wooden pick inserted in the center comes out clean. Cool 5 minutes in pan on a wire rack; remove from pan. Cool completely on wire rack.
So. Much. Yummy. Butter!!!


Sunday, October 3, 2010

The Daring Barkers September Challenge... a few! days late!

The September 2010 Daring Bakers’ challenge was hosted by Mandy of “What the Fruitcake?!” Mandy challenged everyone to make Decorated Sugar Cookies based on recipes from Peggy Porschen and The Joy of Baking.

I messed up my days and so the day I baked my cookies was the day the challenge was supposed to be up... oopsie? I didn't get a chance to do the  icing until today.

They were supposed to represent September, which to me means fall, so I made apples, pumpkins and leaves. I also had a new star cutter so I made a few stars.

I made the thinner ones the way I usually do... with sprinkles and jimmies and fun little things.


Here is my finished, iced cookies. Not too bad for a first time, especially since I only have 3 tips, and I have no clue what "number" they are.


I also used some edible glitter. (They look better in person!)


I tried to use the icing over method, but my icing was jsut too thin by the end. IDK why but it thinned up the more it sat.


My yellow ones...


The strs with the iridescent glitter!


Well one thing is off my bucket list! LOL I enjoyed the icing part, but I think I'd only do it again for a very special occasion!

Sunday, August 29, 2010

August 2010 Daring Bakers Challenge!

The August 2010 Daring Bakers’ challenge was hosted by Elissa of 17 and Baking. For the first time, The Daring Bakers partnered with Sugar High Fridays for a co-event and Elissa was the gracious hostess of both. Using the theme of beurre noisette, or browned butter, Elissa chose to challenge Daring Bakers to make a pound cake to be used in either a Baked Alaska or in Ice Cream Petit Fours. The sources for Elissa’s challenge were Gourmet magazine and David Lebovitz’s “The Perfect Scoop”.

I decided to make the baked Alaska. The brown butter cake was easy to make (even though my butter didn't really brown!)  and it tasted sooo good! But the meringue... HEAVENLY!!! I wanted to eat it by the spoonful!!!

Here are my two little baked Alaskas:

 We have a creme brulee set and WAS going to use that torch to "bake" to Alaskas... but who knew you needed to get a gas canister to use it LOL So we used the lighter we sue to light the candles. It took forever so we didn't do too much - BUT the toasted parts tasted just like marshmallow. YUM!!


The end result.... pretty tasty!!! I used the leftover ice cream I made for last month's challenge!


Wednesday, July 28, 2010

Daring Baker's July 2010 Challenge: Swiss Roll Ice Cream "Bombe"

The July 2010 Daring Bakers’ challenge was hosted by Sunita of Sunita’s world – life and food. Sunita challenged everyone to make an ice-cream filled Swiss roll that’s then used to make a bombe with hot fudge. Her recipe is based on an ice cream cake recipe from Taste of Home. -

This was my very first time doing a Daring Bakers challenge, and yes it was a bit of a challenge! 

I started by making the ice creams. I decided on a Mint Chocolate Chip


 and a Peanut Butter ice cream. I was surprised at how easy to make they both were.
 I had been kinda intimidated to make ice cream without an ice cream maker, but  no more!

Next up was to make the swiss rolls! They were really easy to make, too.
Here is an action shot - folding in the coca powder.


The two cakes in the pans ready to bake!!!


After baking, I rolled the cakes to cool, then made the filling. It was very very liquidy, but tasted good anyway! Then i rolled up the  cakes again!

Then it was time for the msot time consuming part - the assembly!! I cut the rolls and put them in the bottom of my bowl.


Then the first layer of ice cream, homemade chocolate sauce (that didn't thicken either) then the other ice cream!

The finished product:


But you know what? the chocolate covered cakes taste sooo good!!!!
It looks ugly but tastes yummy :D