


 Join Swagbucks!


Red, White and Blue Cupcakes
based on the recipe by Skip to my Lou
1) Prepare a box of white cake mix according to directions. (Don't forget to preheat the oven!) I found one called Stars and Stripes by Pillsbury, which had red and blue sprinkles included.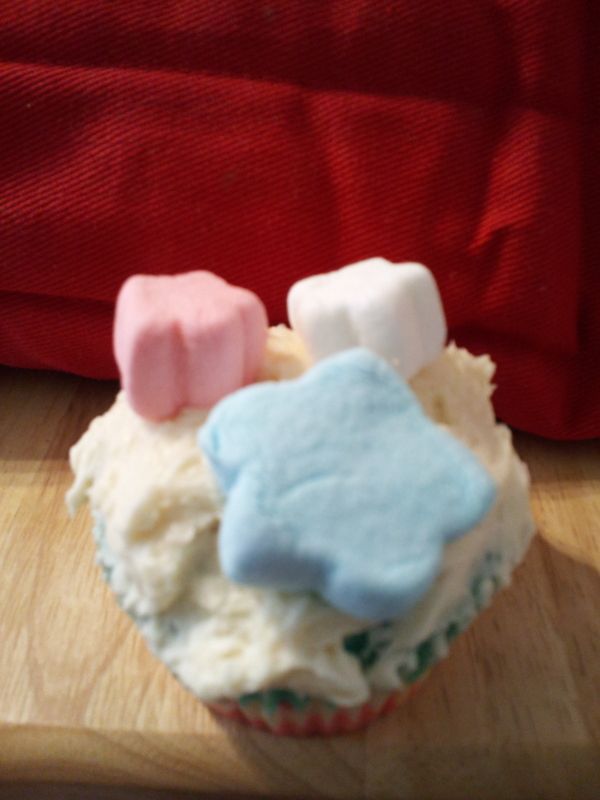 |
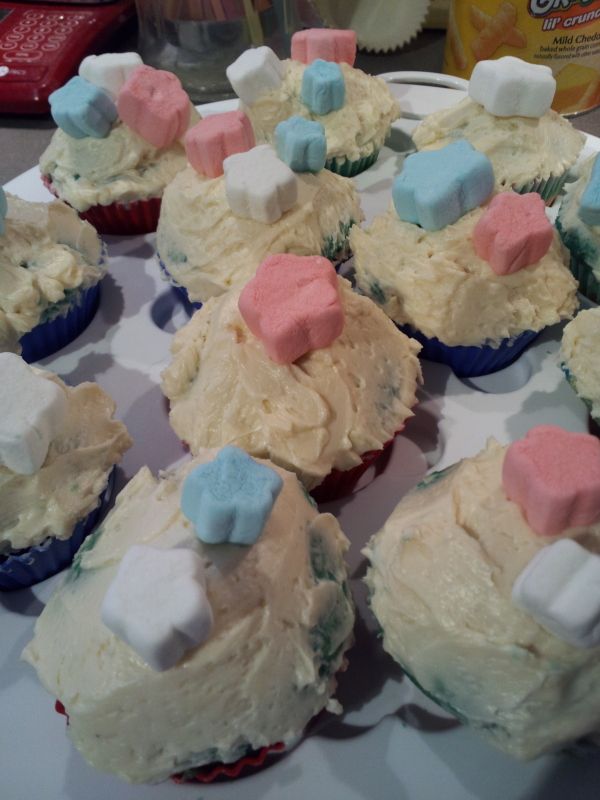
| Red white and Blue Cupcakes with Vanilla Buttercream and Marshmallows |
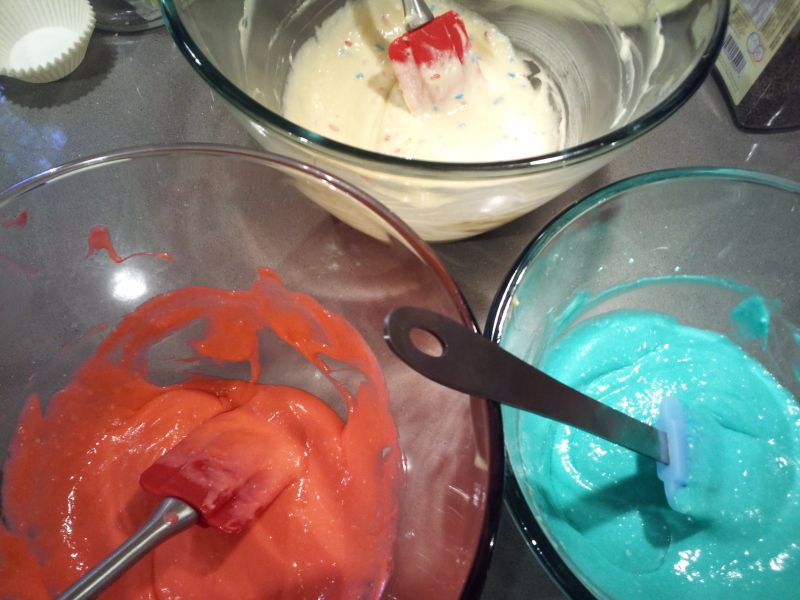 |
| divided and colored batter |
2) Divide the batter into three bowls, about 1.5 cups of batter in each bowl. Color one bowl red, one bowl blue and keep the other white. You can add sprinkles here if you wish! I used Wilton's Christmas Red and Sky Blue icing color gels.
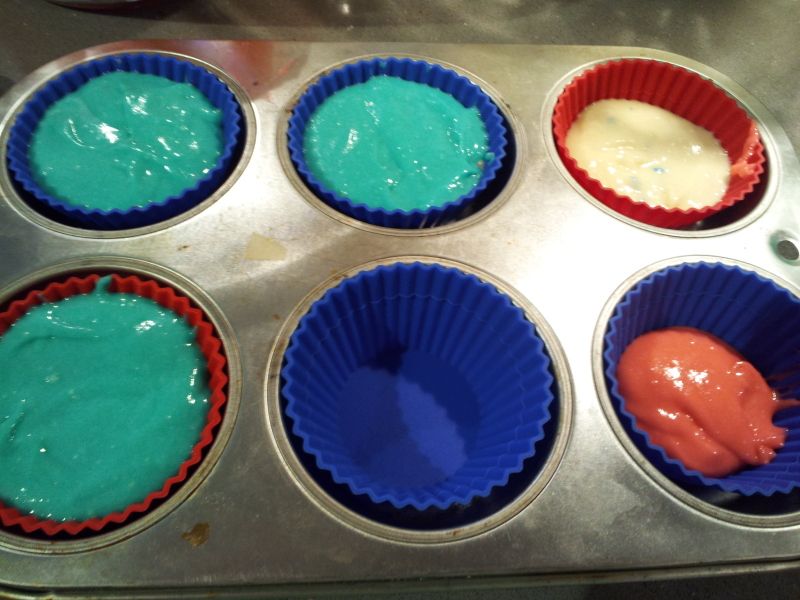 |
| bottom right is red layer, top right has the white layer added, and the rest have all three layers |
3) Layer the batter into your cupcake pans: red, white then blue. I spread it around until it covered the entire layer below it. Note that your cupcakes should be 2/3 filled. I filled mine a bit too much and they overflowed. Also, if you run out of one color or don't have enough to cover a layer, that is ok! You can make one tie dye by swirling the colors together or just layering two colors. I am a firm believer in testing what you bake, so those would make great tester cupcakes ;)
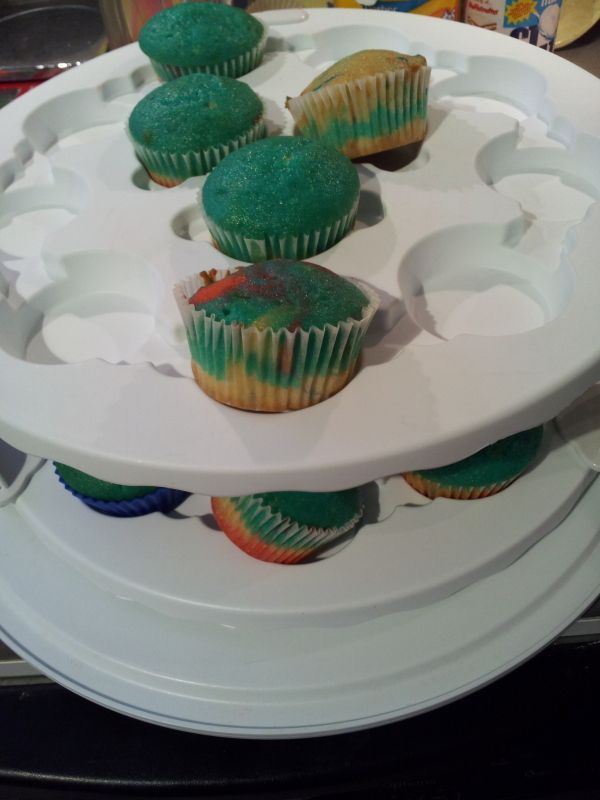 |
| My Tie Dyed Creations in the front and back! |
4) Bake according to the package directions. Allow to cool before icing. Add the marshmallows, however, if you will be serving these more than 24 hours later, wait to add them. Or else they'll get all sticky on the bottom!
 |
| This cake mix was amazing... they stayed moist in the fridge for over a week! |
Vanilla Buttercream Icing with Marshmallows
(based off of Brown Eyed Baker (and Cook's Illustrated)
Ok, I made this recipe exactly as written (other than subbing the extra vanilla extract and using whole milk instead of heavy cream) I SHOULD have made it the way i usually make icing, but I didn't. After the recipe, I'll explain what I'd do differently next time.
~ When I make icing, I mix it with the beater blade first. I mix it all up until the fluff part at the end, then I switch to the whisk. Using just the whisk, my ingredients did not get mixed enough, and the butter taste was very prevalent. It also did not get that fluffy, and every step just took longer.
~ Using the 1 Tablespoon of vanilla was too much. I would reduce it next time.
Hope that these tips helped! The best thing about this is that you can change the colors of the layers and theme them however you want! :)

Easy Vanilla Bean Buttercream
Yield: 3 cups (Enough for 24 cupcakes)
Prep Time:
2½ sticks unsalted butter, softened
1 vanilla bean, halved lengthwise
2½ cups confectioners’ sugar (10 ounces)
Pinch salt
1 teaspoon vanilla extract
2 Tablespoons heavy cream
1. In a standing mixer fitted with the whisk attachment, beat the butter at medium-high speed until smooth, about 20 seconds. Using a paring knife, scrape seeds from vanilla bean into butter and beat mixture at medium-high speed to combine, about 15 seconds.
2. Add confectioners’ sugar and salt; beat at medium-low speed until most of the sugar is moistened, about 1 minute. Scrape down the bowl and beat at medium speed until mixture is fully incorporated, about 30 seconds; scrape bowl, add vanilla and heavy cream, and beat at medium speed until incorporated, about 20 seconds, then increase speed to medium-high and beat until light and fluffy, about 4 minutes, scraping down bowl once or twice.
(I know that vanilla beans can be expensive and so if you opt not to use the vanilla bean called for in the recipe, you will want to increase the amount of vanilla extract to 1 Tablespoon. You can make this and refrigerate it for up to two weeks. When you are ready to use it, allow it to come to room temperature and then re-whip it in your stand mixer to lighten it up.)
(Recipe from Cook’s Illustrated)
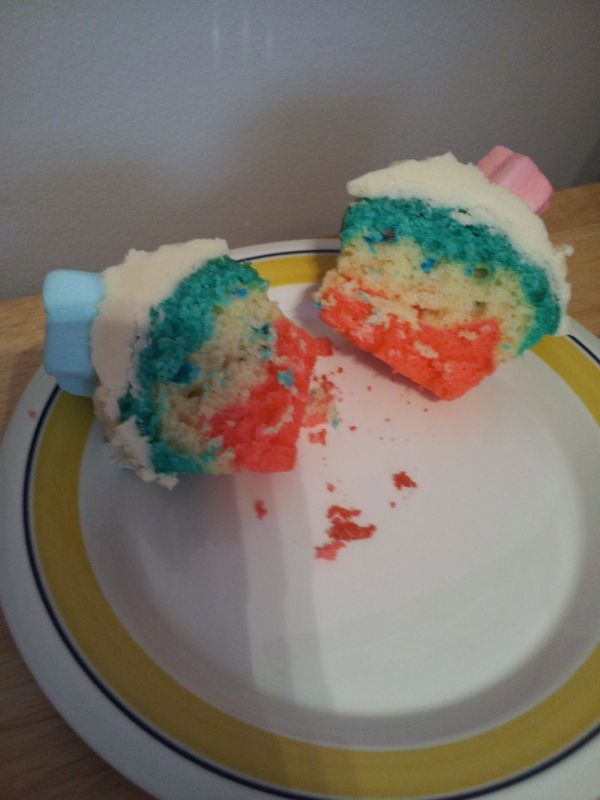 |
| Layery goodness |
~ When I make icing, I mix it with the beater blade first. I mix it all up until the fluff part at the end, then I switch to the whisk. Using just the whisk, my ingredients did not get mixed enough, and the butter taste was very prevalent. It also did not get that fluffy, and every step just took longer.
~ Using the 1 Tablespoon of vanilla was too much. I would reduce it next time.
Hope that these tips helped! The best thing about this is that you can change the colors of the layers and theme them however you want! :)


0 comments:
Post a Comment